To generate an MPR image, you need to open a series that contains a minimum of 2 grayscale images (8,10,12 or 16 bits).
To create Multi-Planar Reconstructed images, click on "2D" button:
Layout of the MPR view:
Modify the section view position:
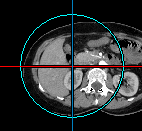
You can change the position of each section by moving the corresponding section line.
The color of section indicator is similar to the color of its section line.
You can also change the position of the main green section with 2 other methods:
- By the scroll wheel of the mouse
- By the slider

Modify the rotation of views:
You can change the rotation of views thanks to 4 methods:
- By the dragging the blue sky circle

- By clicking on the up and down arrows of angle parameters

- By writing angle parameters

- By buttons of the toolbar

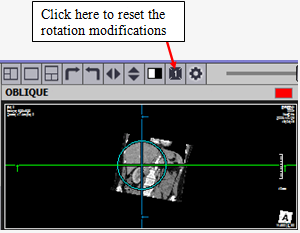
To reset rotations, click on "reset" button in the toolbar of the display area:

Setting for general positions
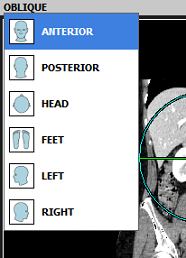
To set the general positions, click on "OBLIQUE" in the left top corner of one view, and choose a new position:

Layout modification
To modify the layout of the MPR, bring your mouse cursor on the toolbar of the display area and click on one of these bu ttons:

Note:
- To modify the Window Level, see "How to modify the Window Level and save these preset values?".
- To modify pan, zoom, see "How to manipulate images? (zoom, pan, rotate, flip, reset)?".
- To modify the general layout of the viewer window, see "How to modify the layout? How to show/hide DICOM Information, annotations, ruler, toolbar, proprieties area (information box)?".